
Creating and Using Masters
Masters are collections of widgets that you can maintain in a central location and reuse throughout a project. Changes you make to a master are automatically pushed out to every individual instance of the master in the project.
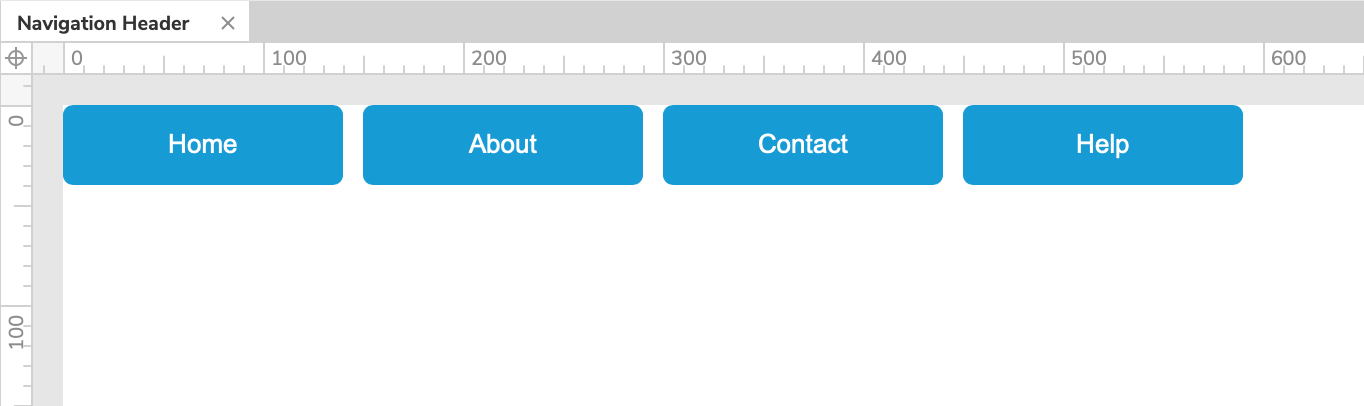
Elements that are commonly created as masters include headers, footers, and navigation bars since they're generally the same on every page of a website or application.
Creating Masters
There are two workflows for creating a master:
Create from Widgets
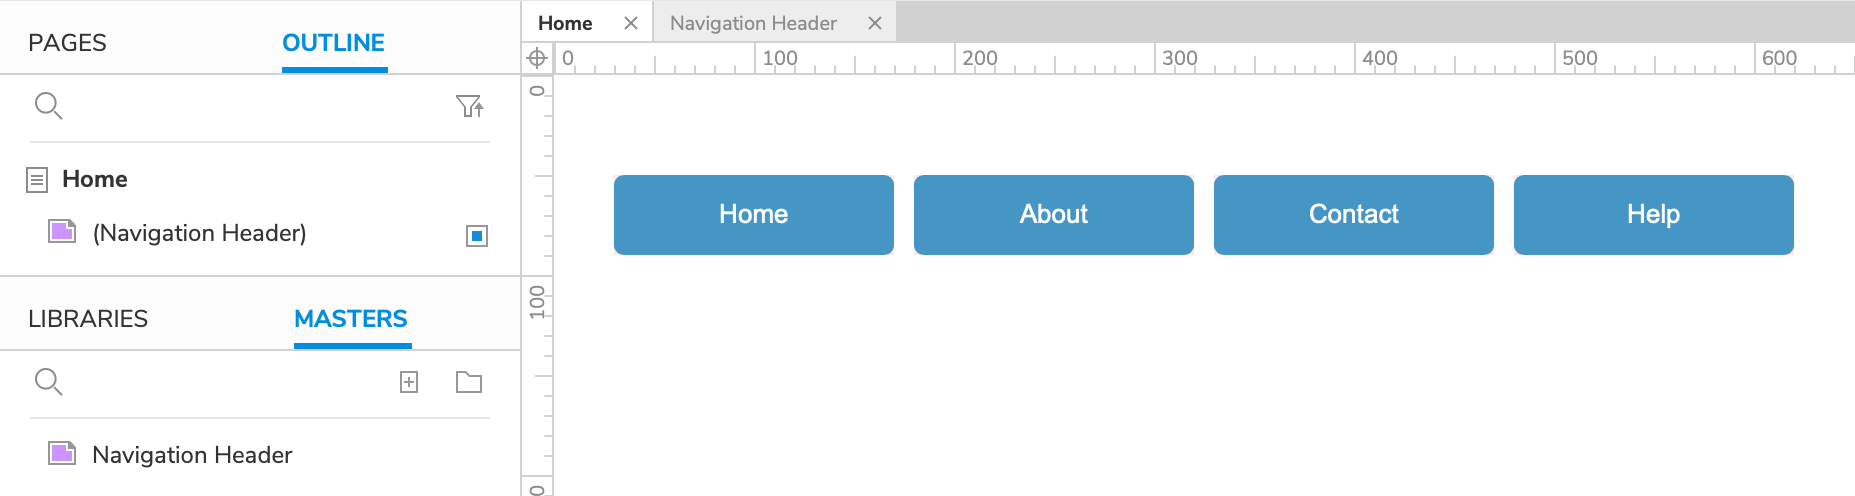
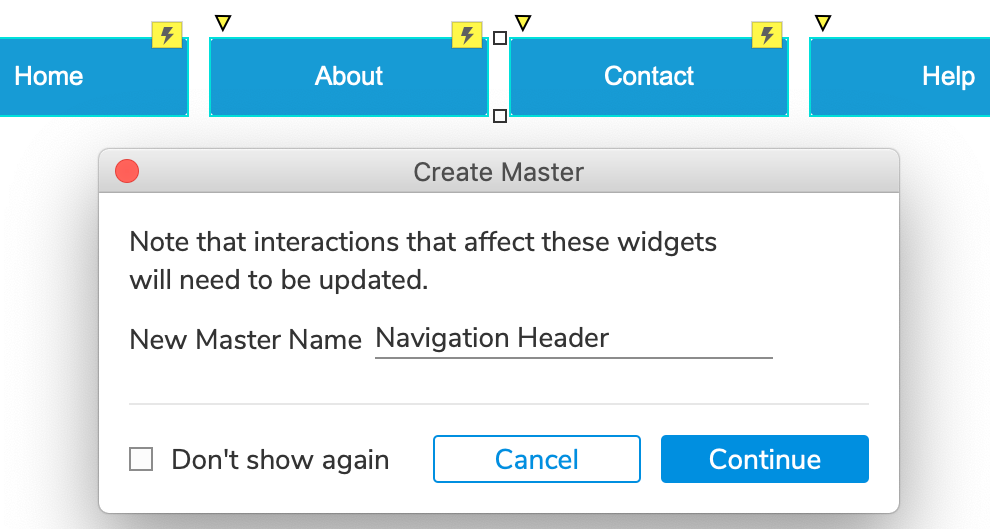
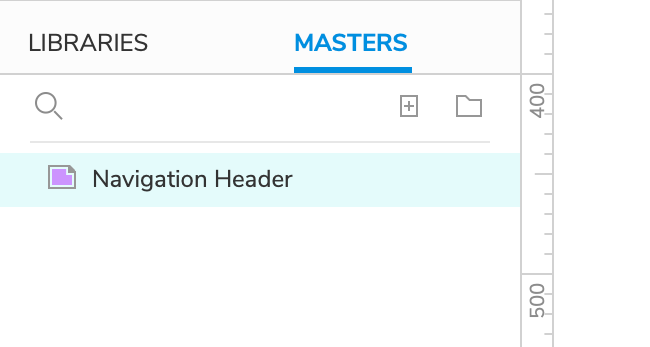
You can create a master from widgets you've already added to the canvas by selecting them, right-clicking, and choosing Create Master in the context menu. The widgets will stay exactly where they are on the canvas, but they'll now be the first instance of a new master, listed in the Masters pane.
Note
If you want to skip naming masters you create from existing widgets, you can check the Don't show checkbox in the Create Master dialog. You can later uncheck this selection on the Masters tab of the application preferences menu.
Creating in the Masters Pane
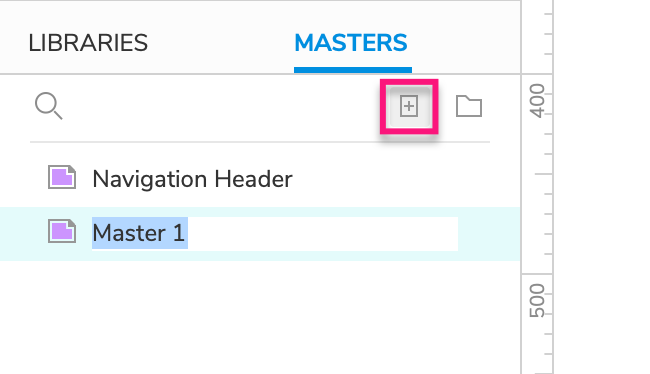
You can also create blank masters by clicking the Add Master icon at the top-right of the Masters pane.
Editing Masters
To edit a master and its contained widgets, double-click its name in the Masters pane or double-click any instance of it that you've added to the canvas. The master will open in a new tab on the canvas.
Page-Like Properties of Masters
In addition to their contained widgets, masters have page-like properties you can configure:
Canvas color: You can change a master's canvas color to facilitate the design process. For example, you can set the canvas to a dark color when working with light text and widget fill colors.
This canvas color is only visible when you're editing the master itself; it does not appear on pages you add the master to.
Page notes: At the top of the Notes pane, you can use the Page Overview field to enter notes about the master itself. You can learn more about working with notes in the Page and Widget Notes article.
Page interactions: Interactions you create under page-level events inside a master will fire along with the page events of pages you add the master to. For example, if you create a Page Loaded interaction inside a master, that interaction will take place when a page containing the master loads in the web browser.
Master views: Master views, similar to adaptive views, are alternate versions of a master that you can create for the different contexts where you expect to use the master. They allow you to create the master once and then rearrange, resize, and restyle its widgets for each of your contexts. To learn more, check out the Master Views article.
Adding Masters to the Canvas
To add a master to a page or to another master, drag it from the Masters pane and drop it onto the canvas. Masters appear on the canvas masked by a red overlay. You can toggle the overlay at View → Masks.
Note
Masks are not applied in the web browser.
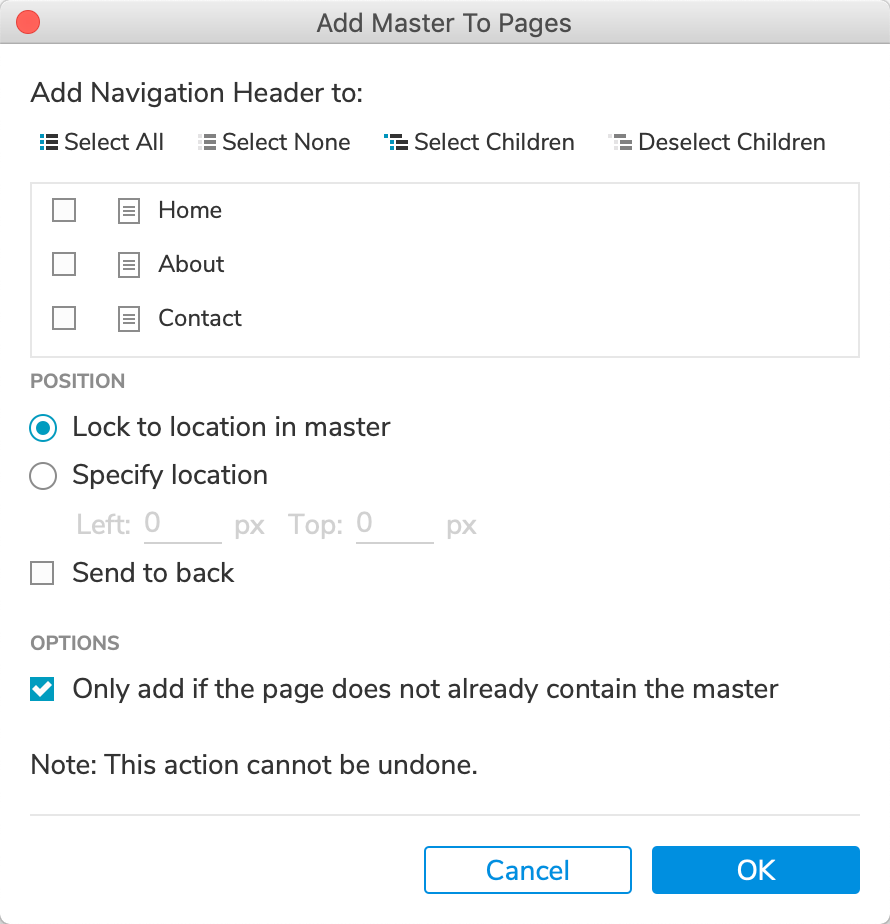
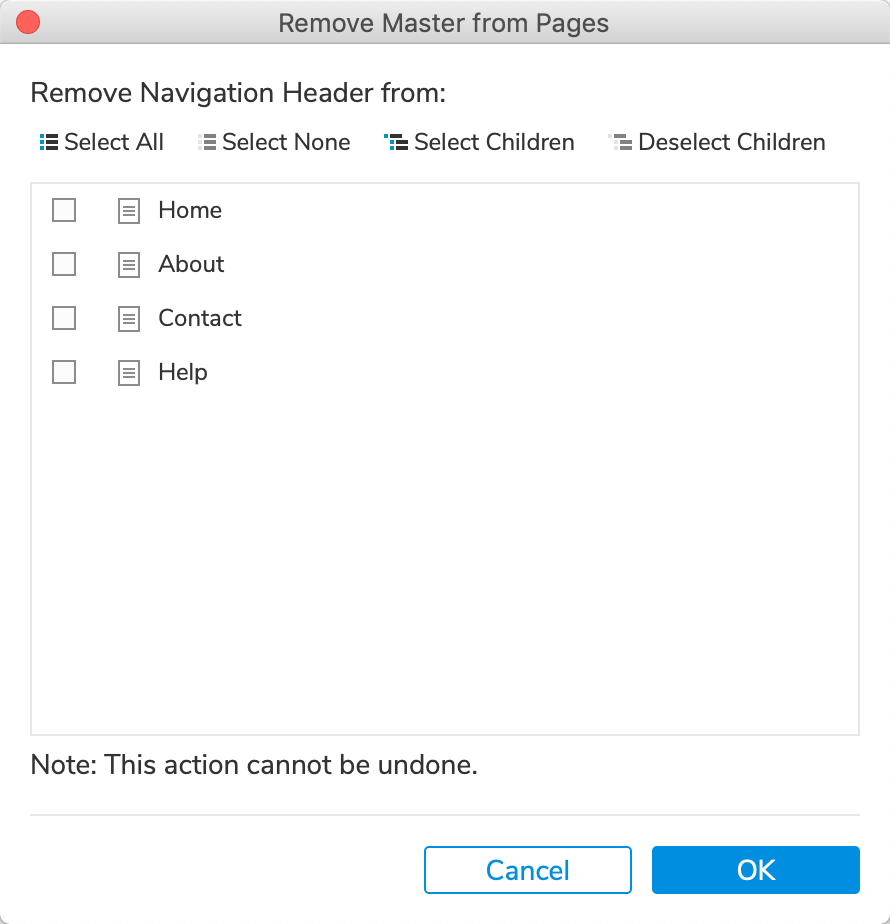
You can also add a master to multiple pages at once or remove a master from multiple pages at once by right-clicking it in the Masters pane and selecting either Add to Pages or Remove from Pages.
Drop Behavior
You can change how each instance of a master behaves when added to the canvas by changing its "drop behavior." To do this, right-click the master in the Masters pane and select from the following options under Drop Behavior:
Place Anywhere (default): Allows you to place instances of the master at any coordinates you want on the canvas.
Lock to Master Location: Restricts all instances of the master to the exact coordinates of the widgets on the master's own canvas. Furthermore, only one instance of the master can be added to a page or another master since subsequent instances would overlap the first.
Note
You can toggle this behavior on an instance-by-instance basis by right-clicking an instance of a master and selecting Lock to Master Location in the context menu.
Break Away: When placed on the canvas, instances of the master immediately become regular widgets that are no longer linked to the source master.
Note
You can also break away individual instances by right-clicking and selecting Break Away in the context menu.
Text and Image Overrides
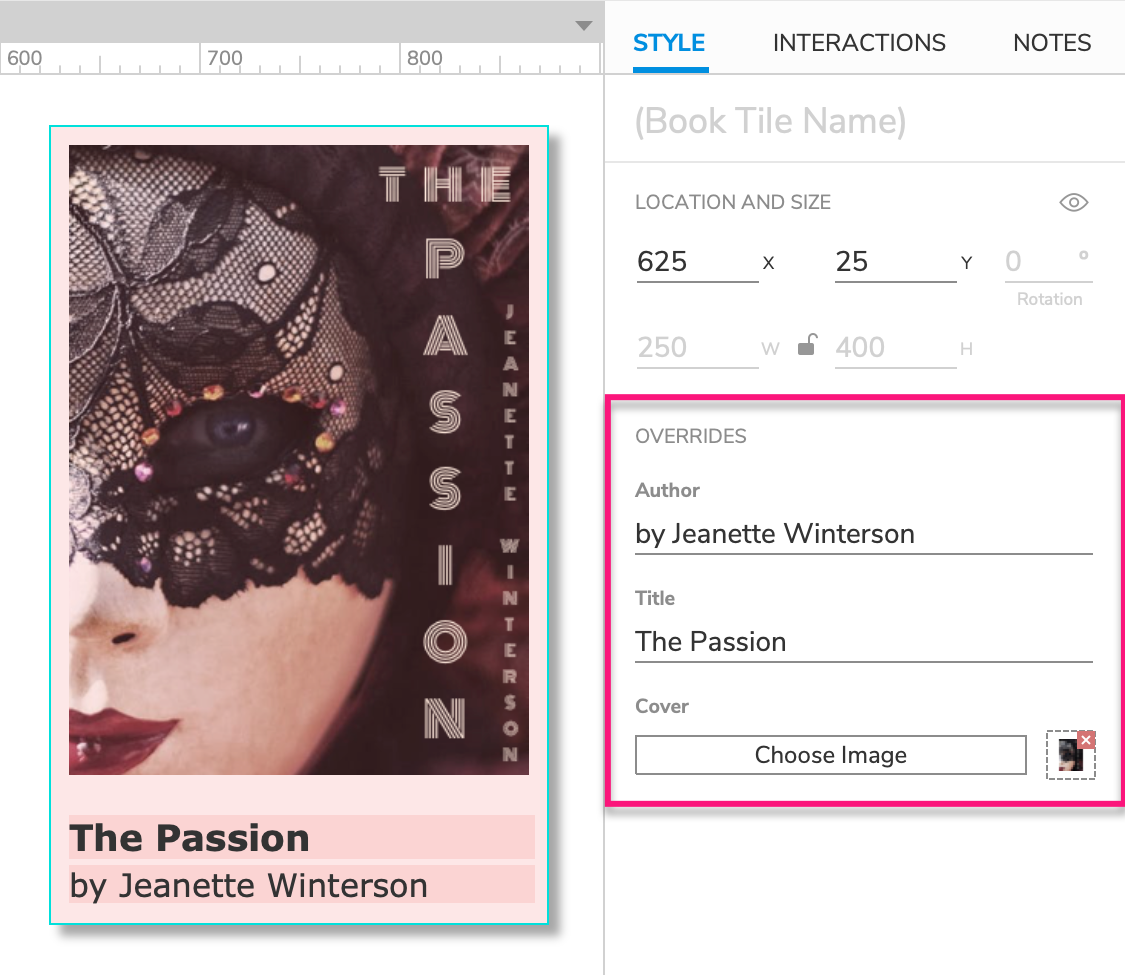
After adding an instance of a master to the canvas, you can use the Overrides section of the Style pane to change the text and images on widgets in the instance.
Note
You must first enter some default text on a widget in a master before the text can be overridden at the page level.
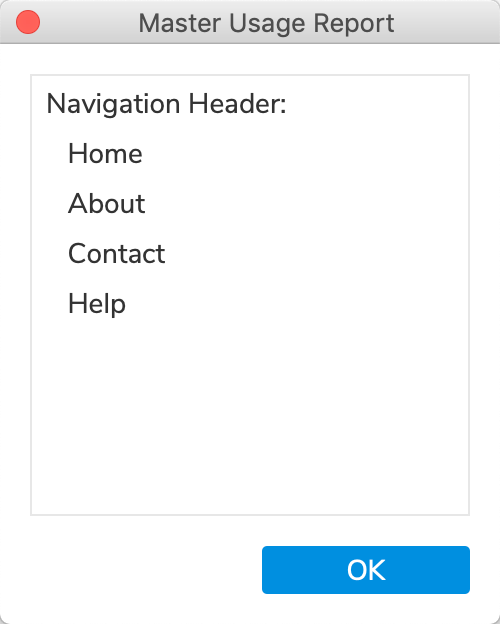
Usage Report
You can quickly see which pages a master has been added to by right-clicking it in the Masters pane and selecting Usage Report.
Interactions
As with all other aspects of a master, its interactions and the interactions of its contained widgets exist exclusively within the master and are consistent across all its instances in the project. If you need an interaction in a master to affect widgets outside the master, or if you want an interaction to work differently for each instance of the master, use a raised event.