Events, Cases, and Actions
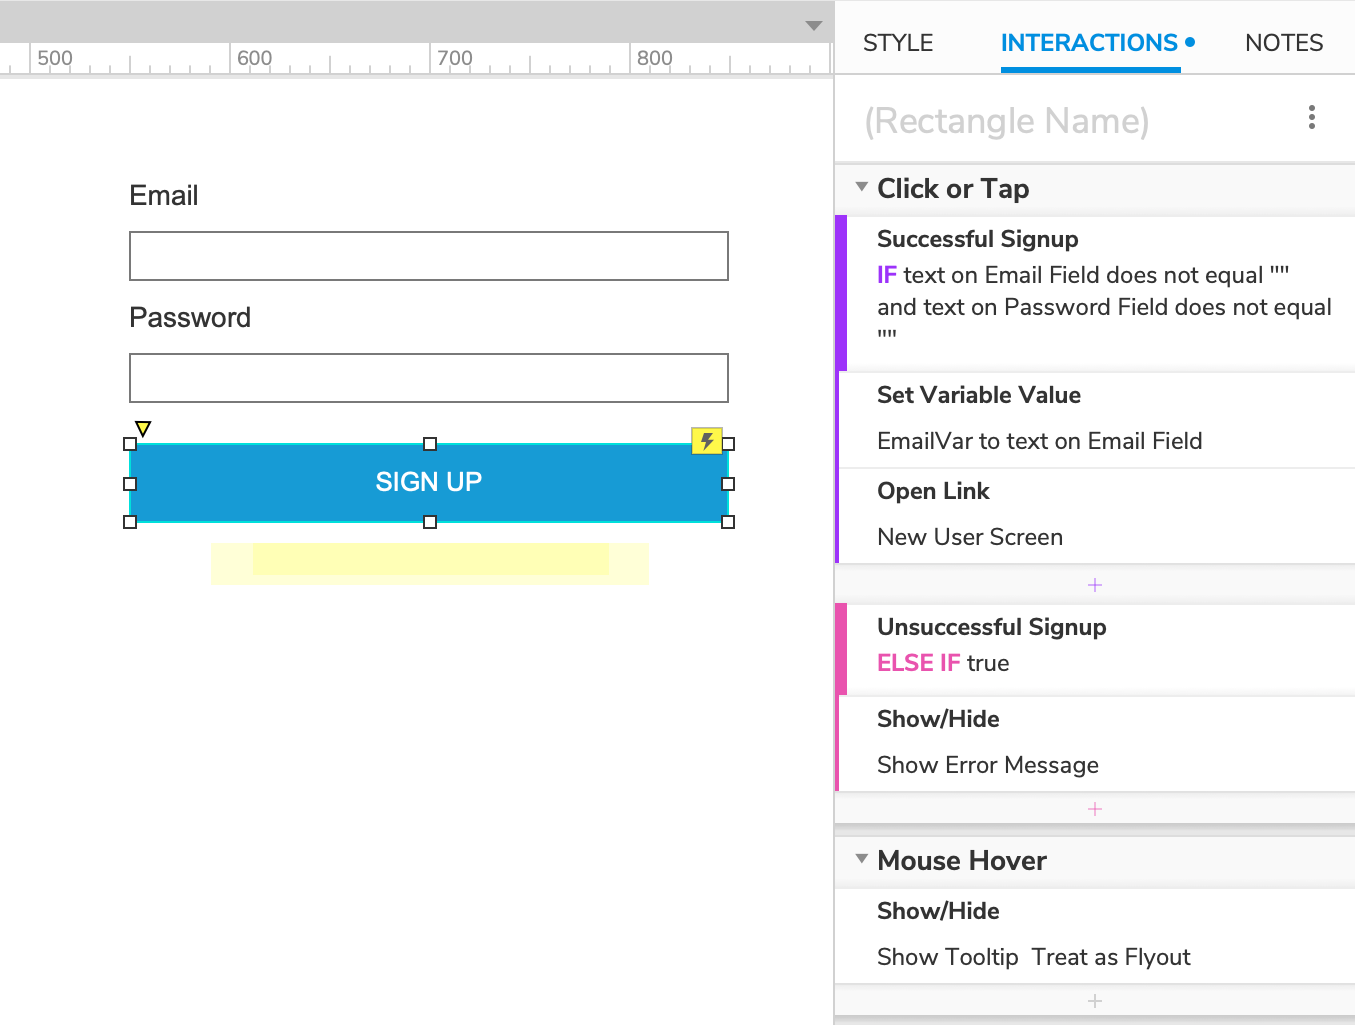
Interactions determine the dynamic behaviors of widgets and pages. Clicking a button to navigate to another page in the prototype is an interaction, as is mousing over a widget to reveal another widget on the page.
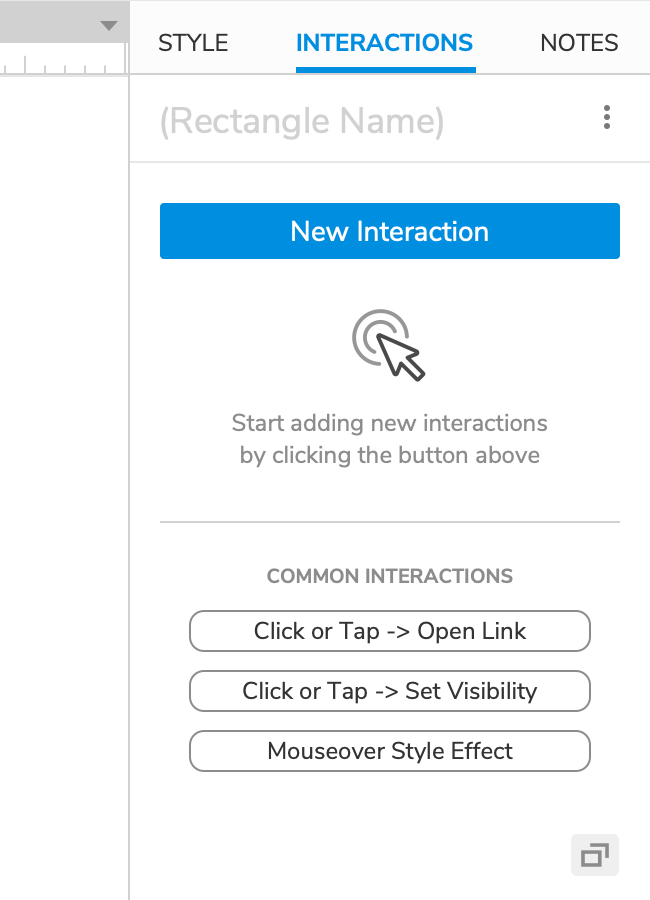
You'll create and manage your prototype's interactions in the Interactions pane. You can choose from the most common interactions for a selected widget at the bottom of the pane, or you can click New Interaction to build your own.
Tip
If you need more room to work on your interactions, click the window icon at the bottom-right of the Interactions pane or double-click any event or widget name to open the Interaction Editor dialog.
The Structure of an Interaction
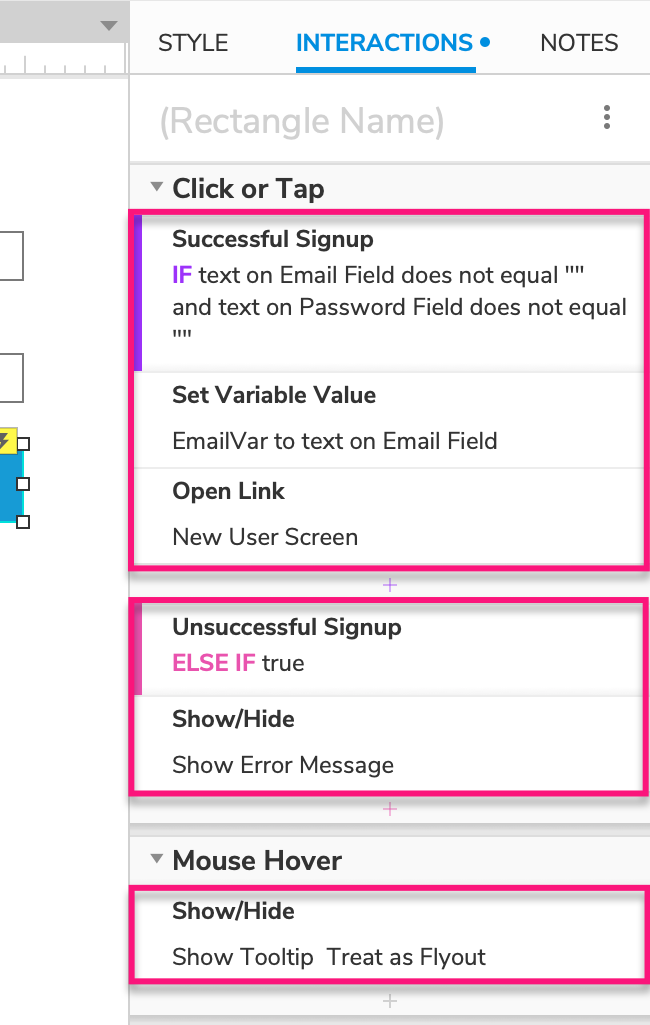
Interactions are made up of three parts:
- widget and page events
- cases that are added to events
- actions that are added to cases
Events
Events are triggers that correspond to particular page and widget behaviors. When the triggering behavior occurs in the web browser, the event is "fired," and any cases attached to it are executed in response. For example, if you click a button to navigate to a different page in the prototype, you have fired its Click or Tap event.
To view a page or widget's available events, select it and click New Interaction in the Interactions pane. Then, select an event in the list to configure an interaction under it. (You can view the full list of available page and widget events here.)
To delete an event and all of its cases and actions, select it in the Interactions pane and press DELETE.
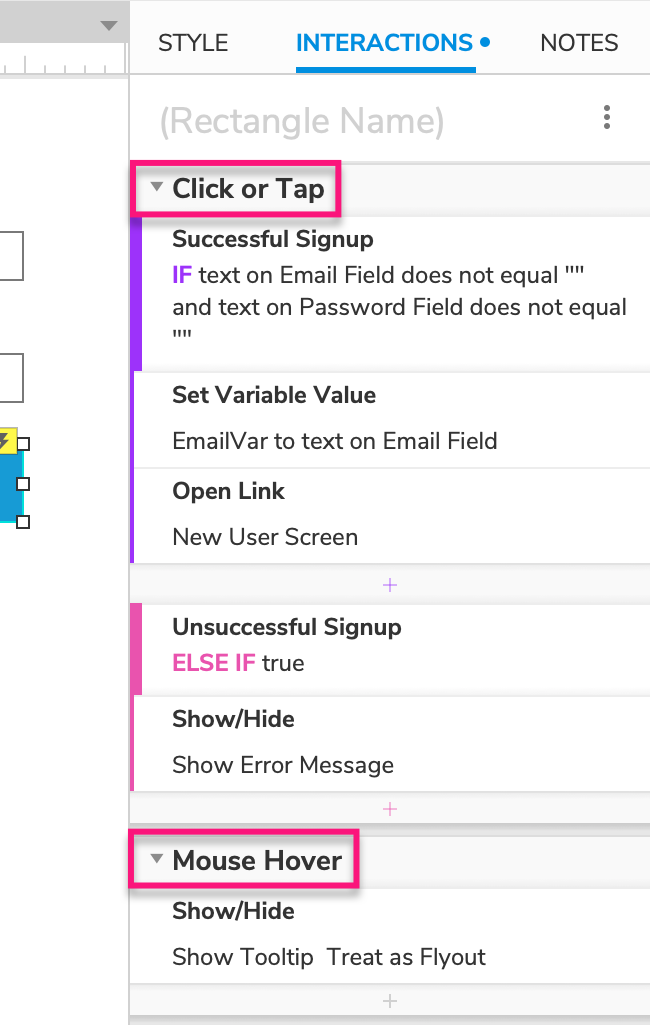
Cases
Cases are ordered lists of actions that occur in the web browser in response to a page or widget event firing. A case is automatically added to an event when you assign one or more actions to it, though the first case's name is hidden by default. Hover your cursor over the event's name and click Enable Cases to the right to see the first case's name.
If needed, you can add additional cases to an event by clicking the Add Case icon to the right of the event's name. When the event fires in the web browser, you can choose which of its cases to execute in the menu that appears. Alternatively, you can set up conditional logic to make this determination automatically based on certain criteria.
To delete a case from an event, select it in the Interactions pane and press DELETE.
You can reorder the cases under an event by dragging them up and down. (The order of cases is important when you're working with conditional logic.)
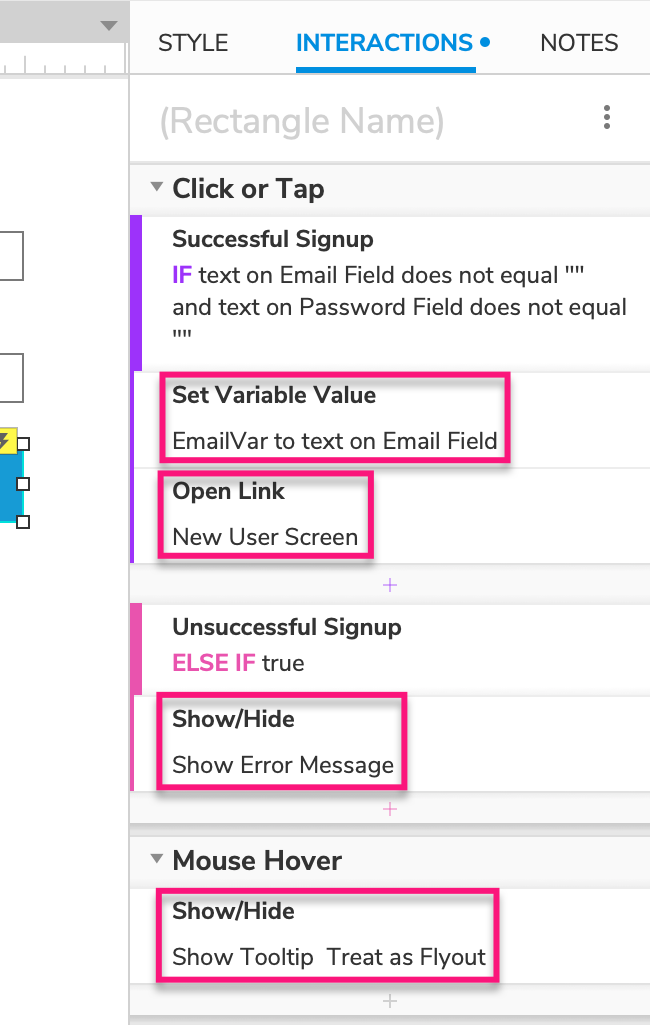
Actions
Actions are the changes that occur in the web browser in response to a page or widget event firing. For example, if you click a button to navigate to a different page in the prototype, an Open Link action has occurred in response to the button's Click or Tap event.
When you select an event in the New Interaction menu, you'll be shown the list of available actions. After selecting an action, you'll be prompted to configure it. You can then add additional targets to the action (for actions that take targets) by hovering your cursor over the action's name and clicking Add Target to the right.
To add more actions to a case, click the "+" Insert Action icon at the bottom of the case. To delete an action from a case, select it in the Interactions pane and press DELETE.
You can reorder the actions in a case by dragging them up and down. Actions occur in sequential order from top to bottom, so it's important to arrange them in the exact order you want them to happen in the web browser.