Organizing Widgets
Positioning Widgets on the Canvas
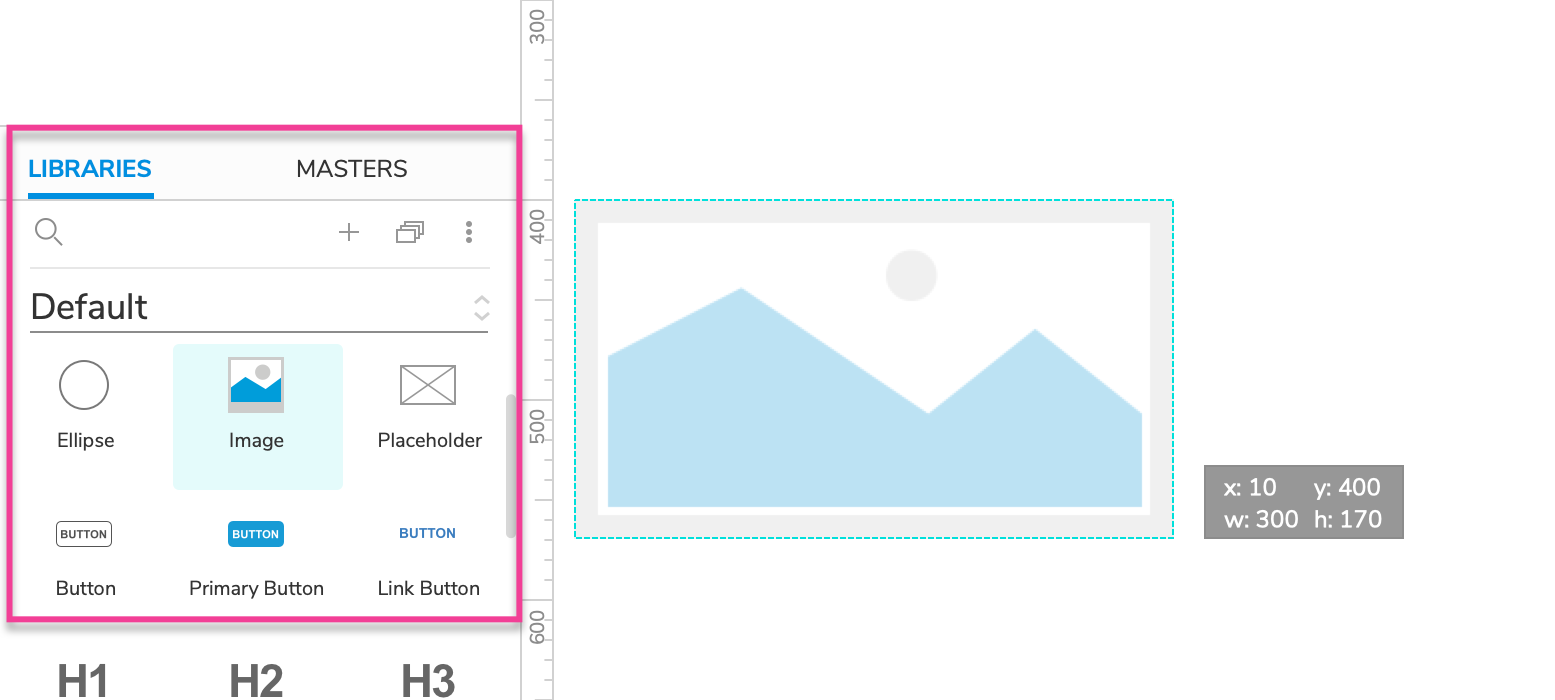
To add a widget to the canvas, drag it from the Libraries pane. You can also draw a number of shape widgets with the options in the Insert menu at the top-left of the UI.
To move a widget or selection of widgets, drag-and-drop it into place or use the arrow keys to nudge it around on the canvas. You can also choose exact canvas coordinates using the X and Y fields in the top toolbar or in the Style pane.
As you drag widgets on the canvas, they will snap to the canvas grid, any guides you have set up, and to other widgets nearby. You can learn more in the article on the grid, guides, and snapping.
Positioning Multiple Widgets at Once
When you have multiple widgets selected on the canvas, you can choose to change the coordinates of the entire selection as a whole or to reposition each individual widget within the selection:
To reposition the entire selection, use the X and Y fields in the top toolbar. This will move the selection of widgets as a whole to the target coordinates on the canvas, and each widget will maintain its relative distance from the target coordinates.
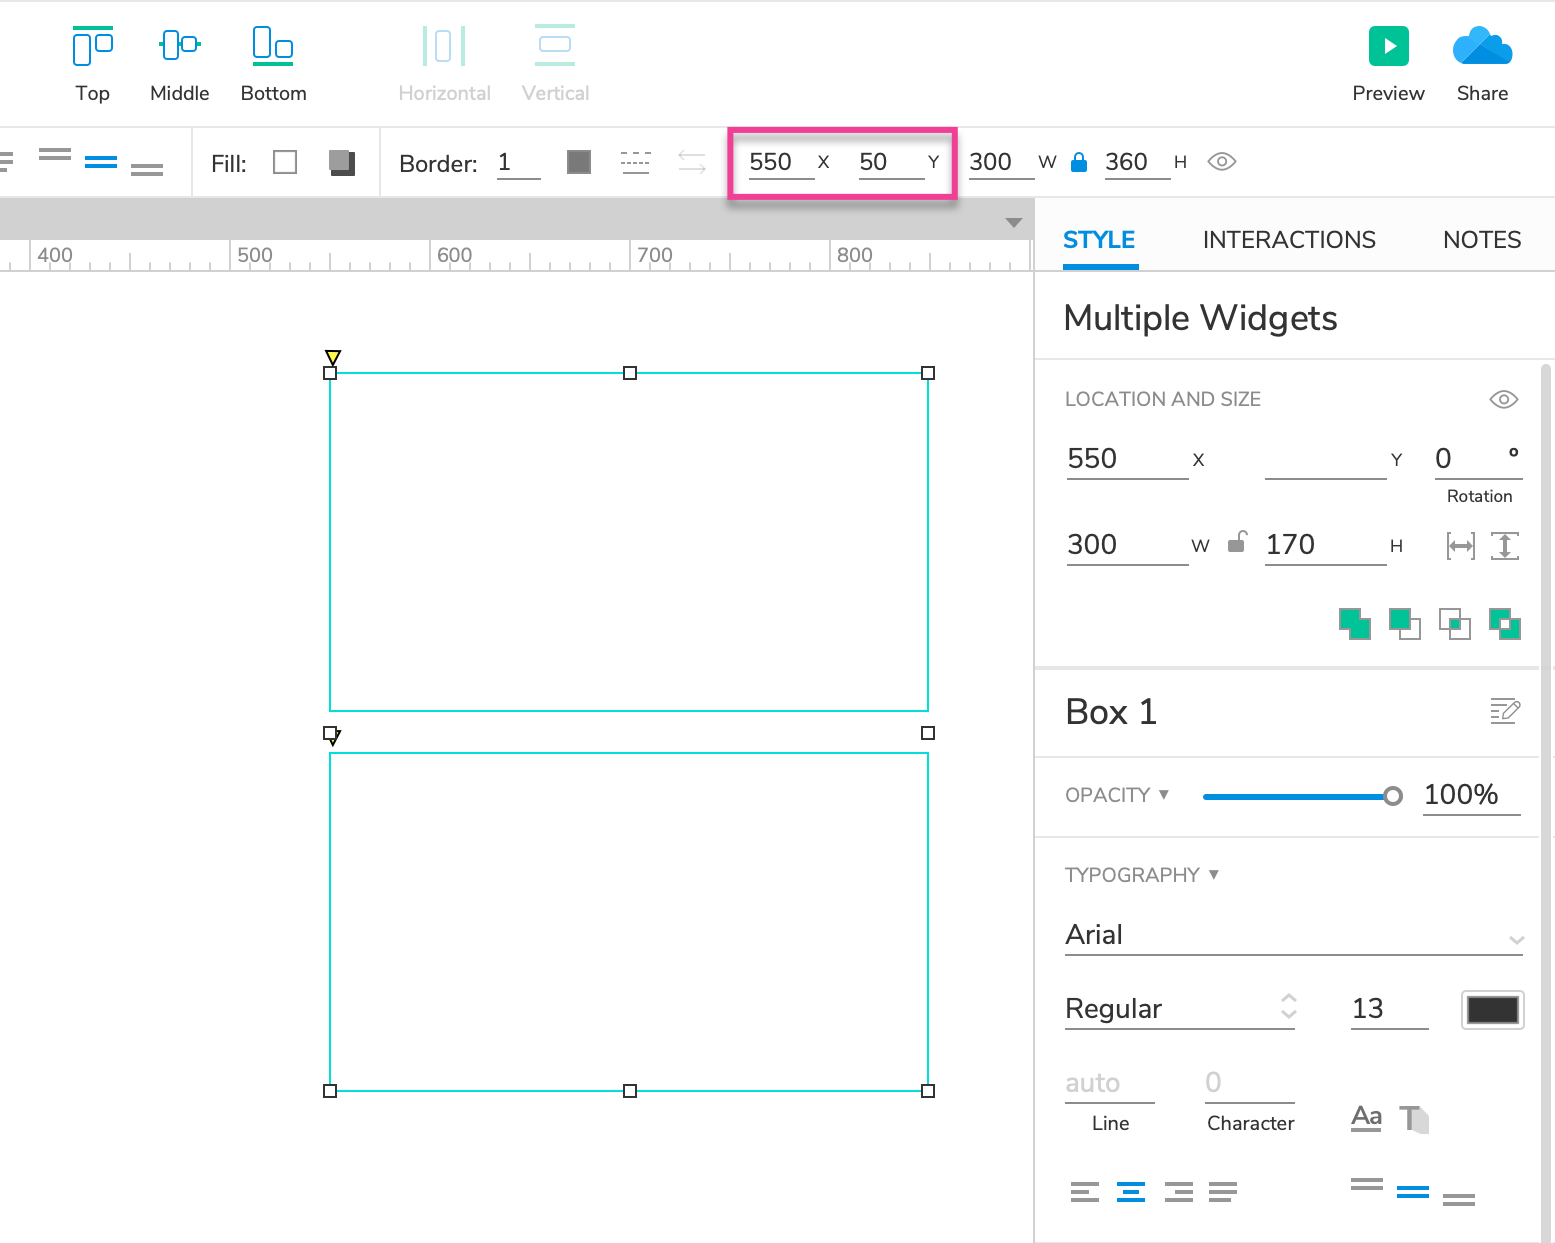
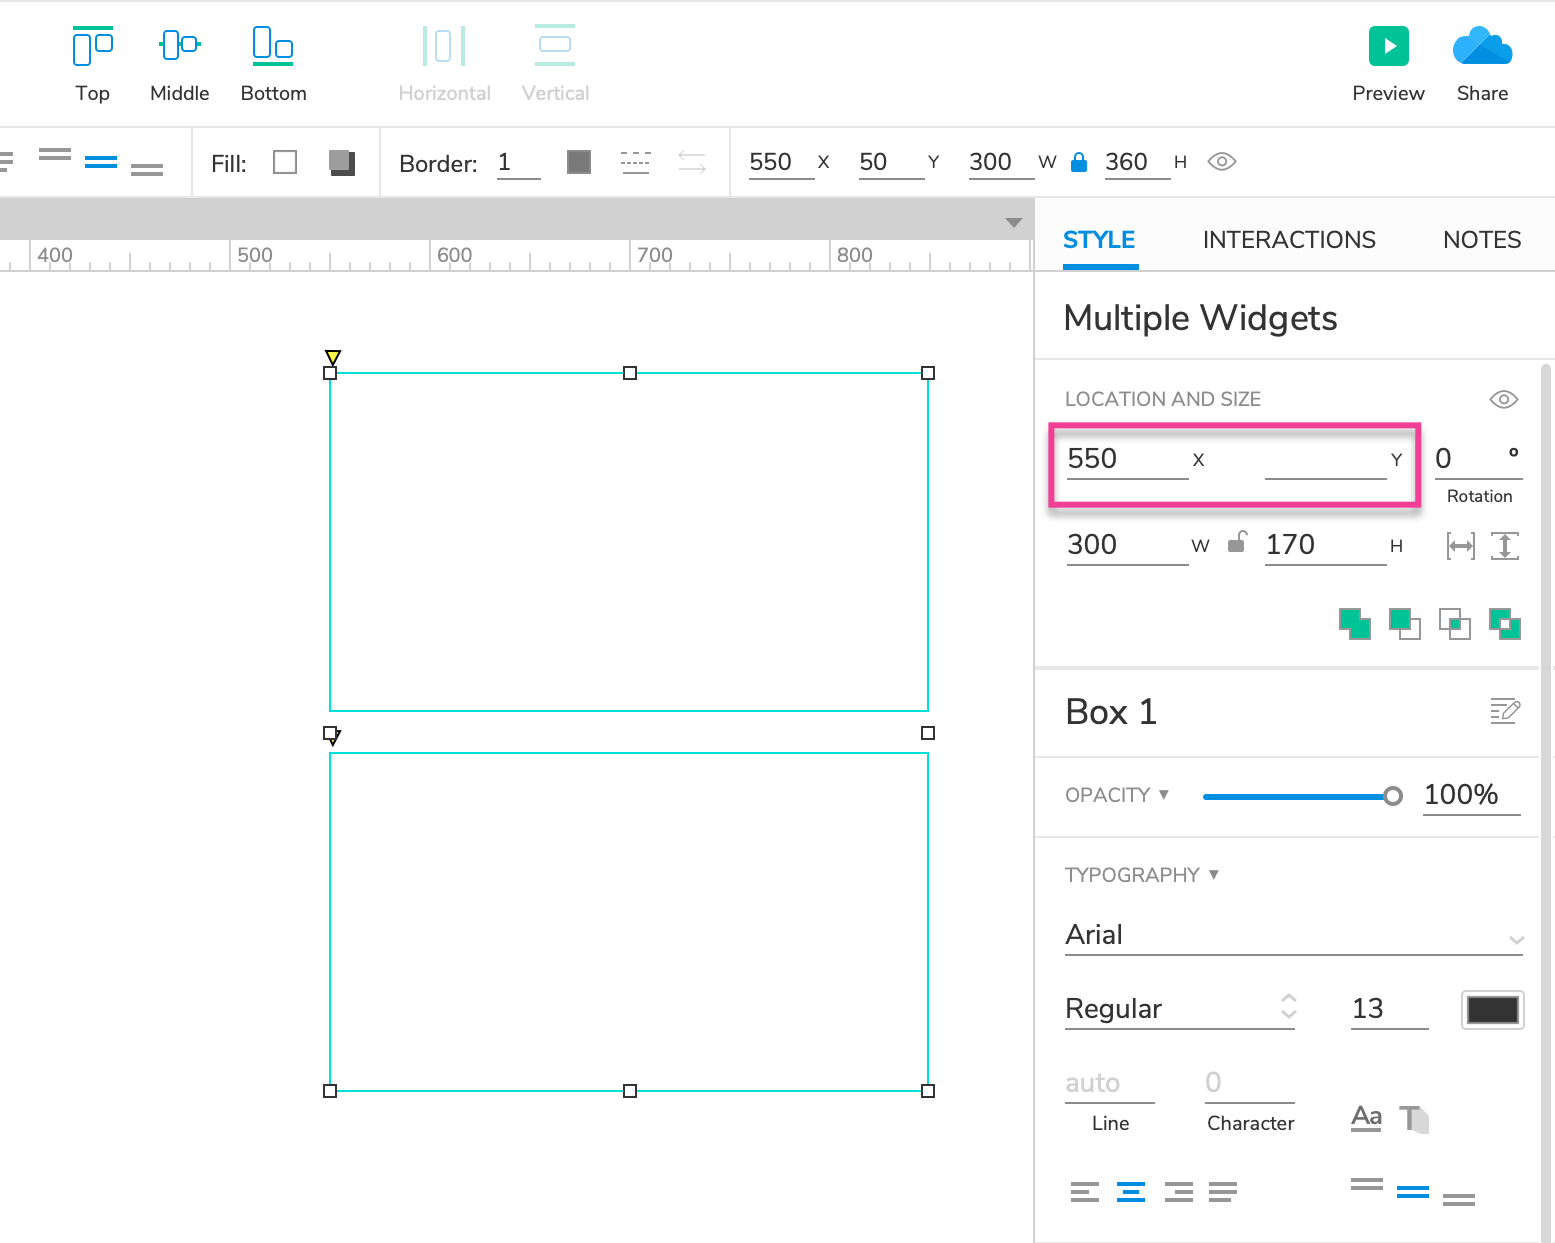
To reposition each individual widget, use the X and Y fields in the Style pane. This will move each widget in the selection to the target coordinates on the canvas.
Note
The X and/or Y fields in the Style pane will be blank when the selected widgets are located at different spots on the canvas.
Resizing Widgets
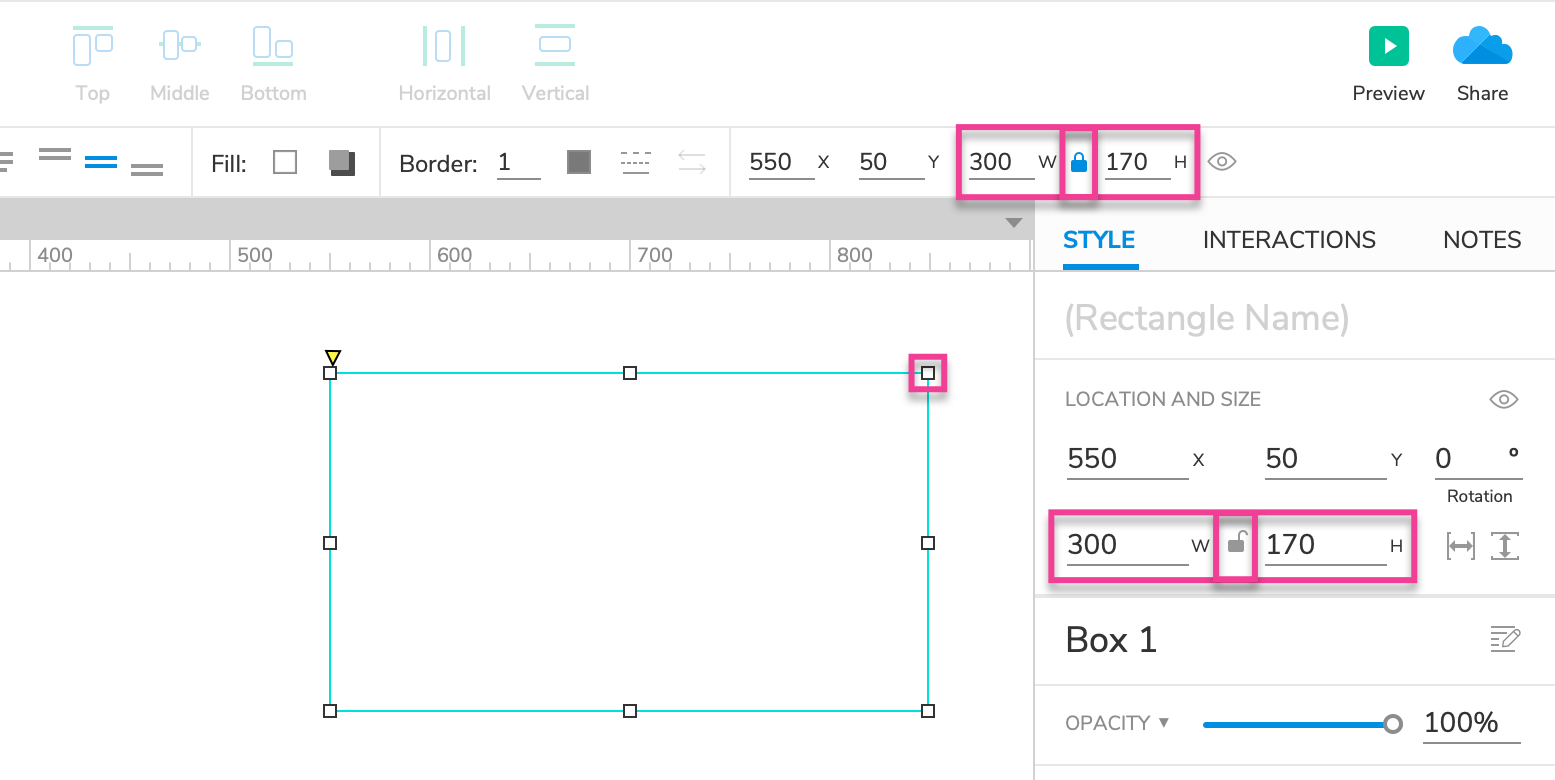
To resize a widget, select it on the canvas and drag its resize handles. You can maintain the widget's aspect ratio by holding SHIFT while dragging.
You can also choose exact dimensions for a widget using the W and H fields in the top toolbar or in the Style pane. To maintain the widget’s aspect ratio, click the Maintain aspect ratio icon between the W and H fields. Alternatively, you can press SHIFTENTER after typing a new value into one of the fields.
Resizing Multiple Widgets at Once
When you have multiple widgets selected on the canvas, you can choose to resize the entire selection proportionally as a whole or to resize each individual widget within the selection:
To resize the entire selection, use the W and H fields in the top toolbar. This will set the width and height of the selection itself and then resize and reposition the selected widgets proportionally to fit inside the selected dimensions.
To resize each individual widget, use the W and H fields in the Style pane. This will apply the selected dimensions to each widget in the selection, for example setting the width of each widget to 150px.
Note
The W and/or H fields in the Style pane will be blank when the selected widgets have different dimensions.
Distance Guides / Redlines
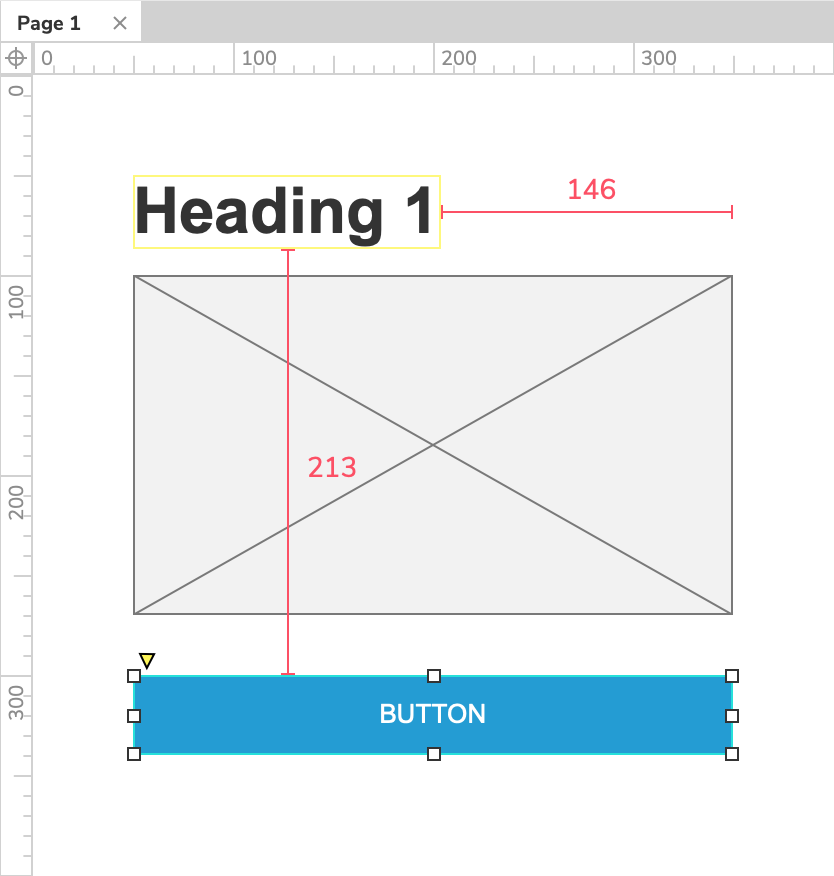
As you move a widget around on the canvas, red guides will appear to show you the distance between the widget and other widgets nearby. These guides will also show you when the widgets align along an edge or midpoint.
This behavior is explained more fully in the article on the grid, guides, and snapping.
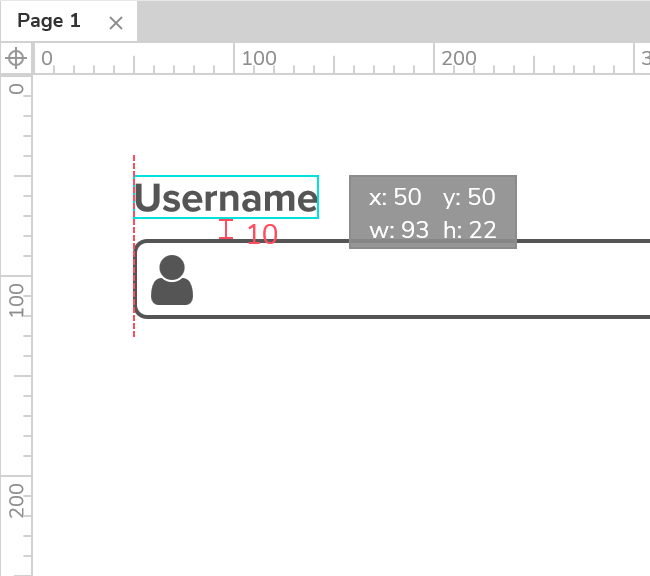
You can also view redlines between widgets without moving them. To do so:
Select a widget.
Hover your cursor over a second widget while holding down the ALT key.
Naming Widgets
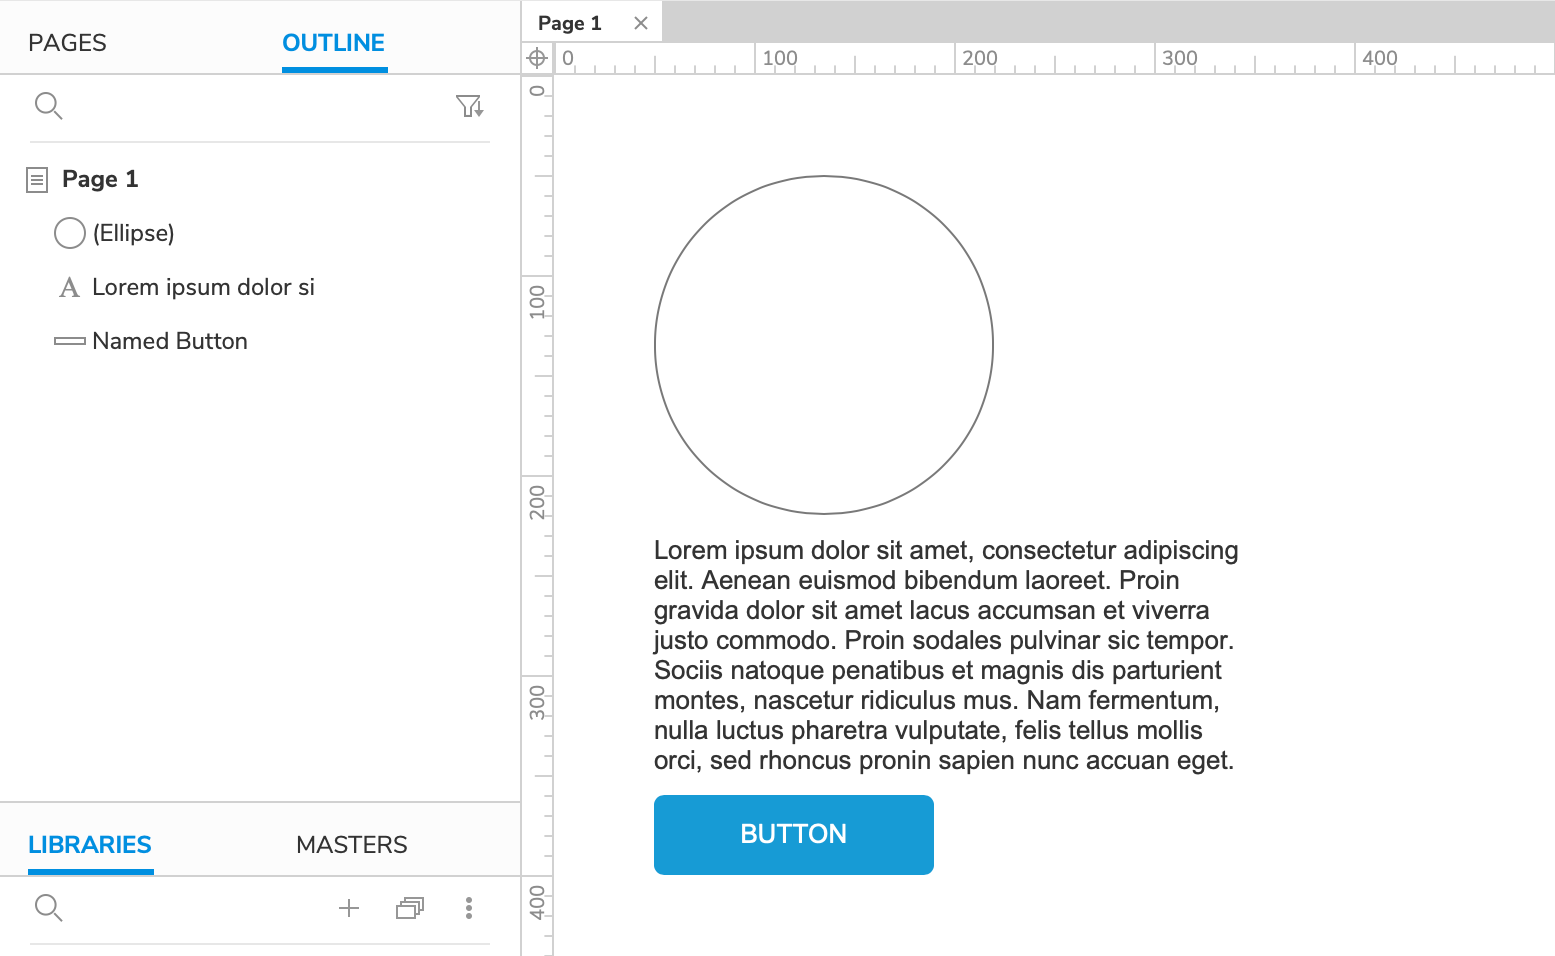
By default, widgets are not named. In the Outline pane and other locations that show widget names, unnamed widgets are identified by their widget type in parentheses: (Rectangle), (Image), etc.
If you enter text onto a widget that has no name, it will instead be identified by the first few words of the text. For example, the default paragraph widget shows Lorem ipsum dolor si in the Outline pane.
To give a widget a name, do a slow double-click on it in the Outline pane. Alternatively, you can select it and enter a name at the top of the Style, Interactions, or Notes panes.
Grouping Widgets
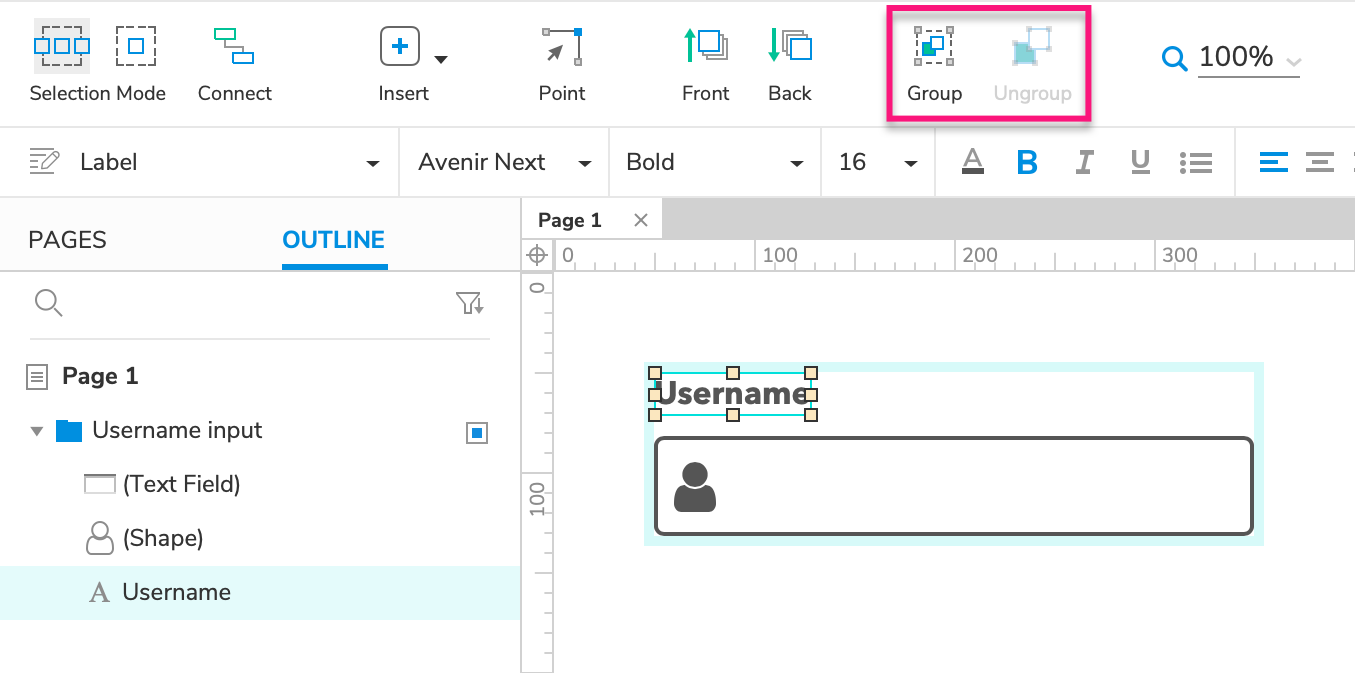
You can organize widgets into groups in order to name, position, and interact with them as a single unit. To do this, select two or more widgets and click Group in the top toolbar. To break apart a group of widgets, select the group and click Ungroup.
Take a look at the article on widget groups to learn more.
Layer Order / Depth Order / Front and Back
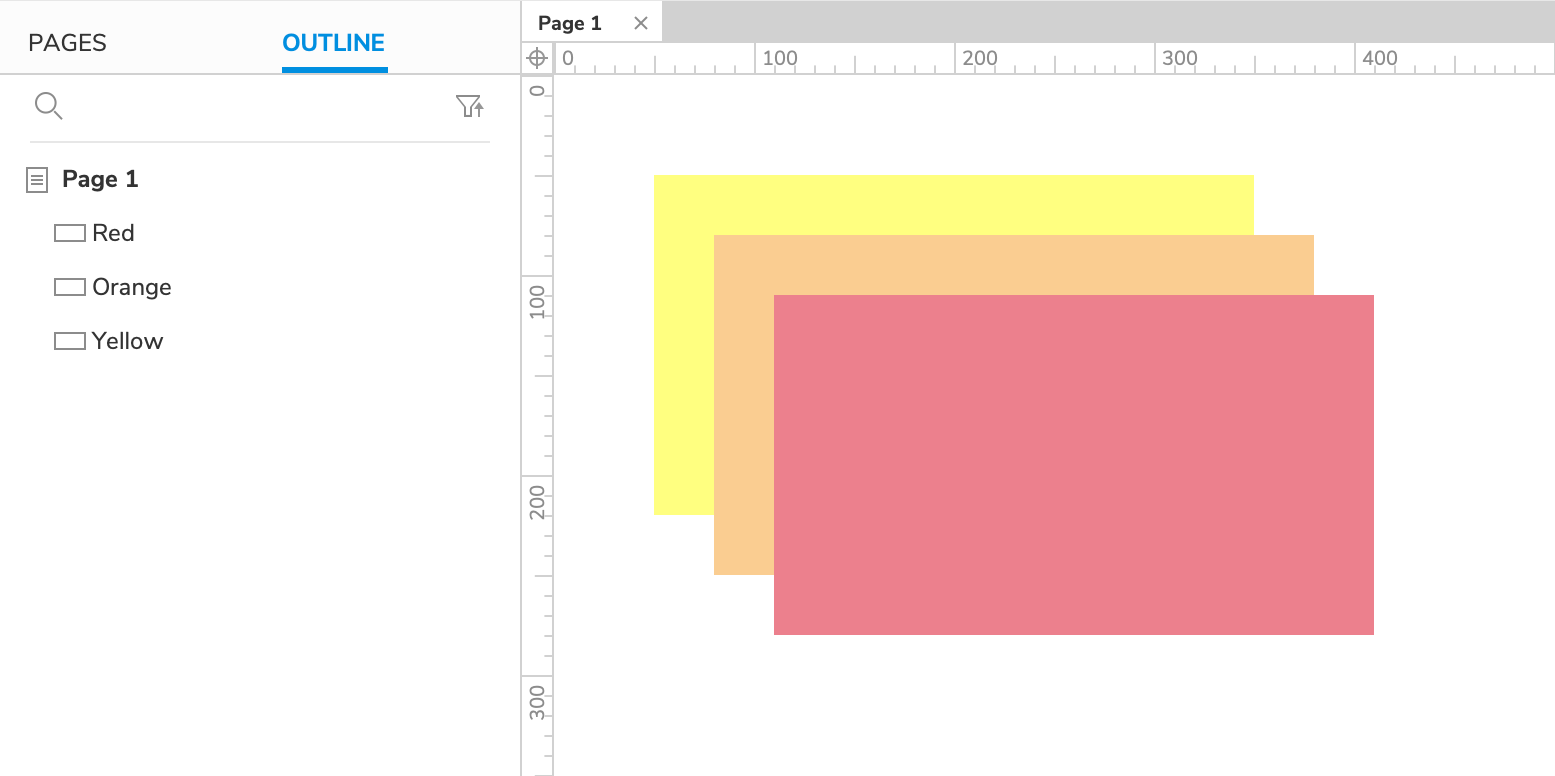
When two or more widgets overlap one another, their "layer order" determines which widget appears in front. The widget that is higher in layer order will appear in front, and the one that is lower will appear behind.
Layer order, or "z-index," also determines the tab order for widgets that can be navigated with the TAB key in the web browser, such as form widgets like text fields and droplists. The TAB key focuses the backmost widget first and moves progressively forward.
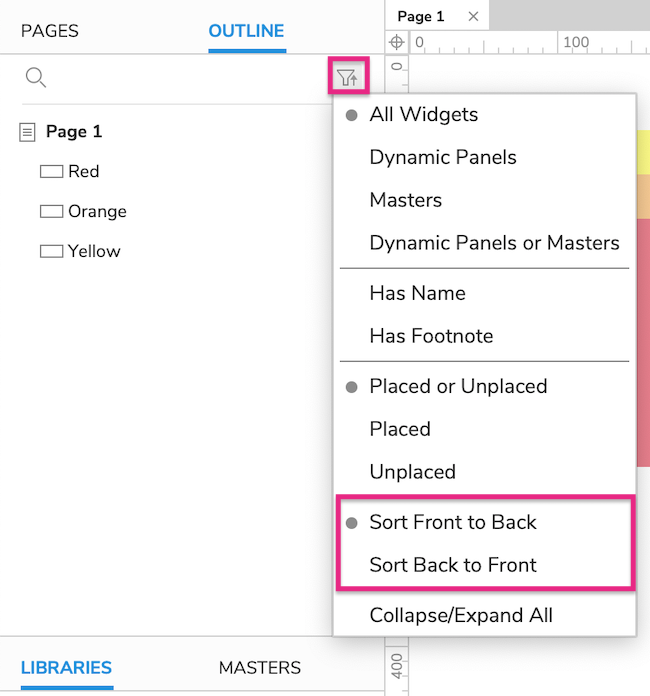
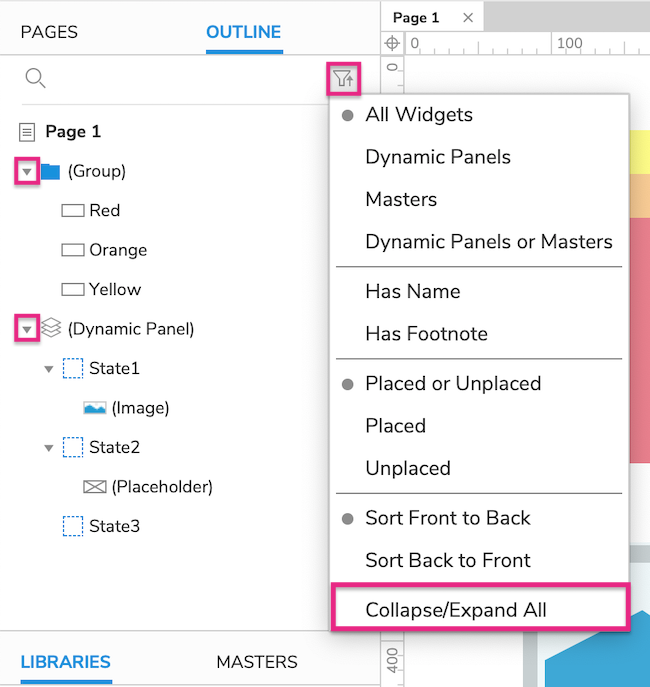
You can view a widget's specific depth / z-index position in the Outline pane. By default, the pane is ordered front-to-back, so widgets at the top of the pane are in front, and widgets at the bottom are at the back. (If desired, you can change the sort direction by clicking the Sort and Filter icon at the top-right of the Outline pane.)
Reordering Widgets
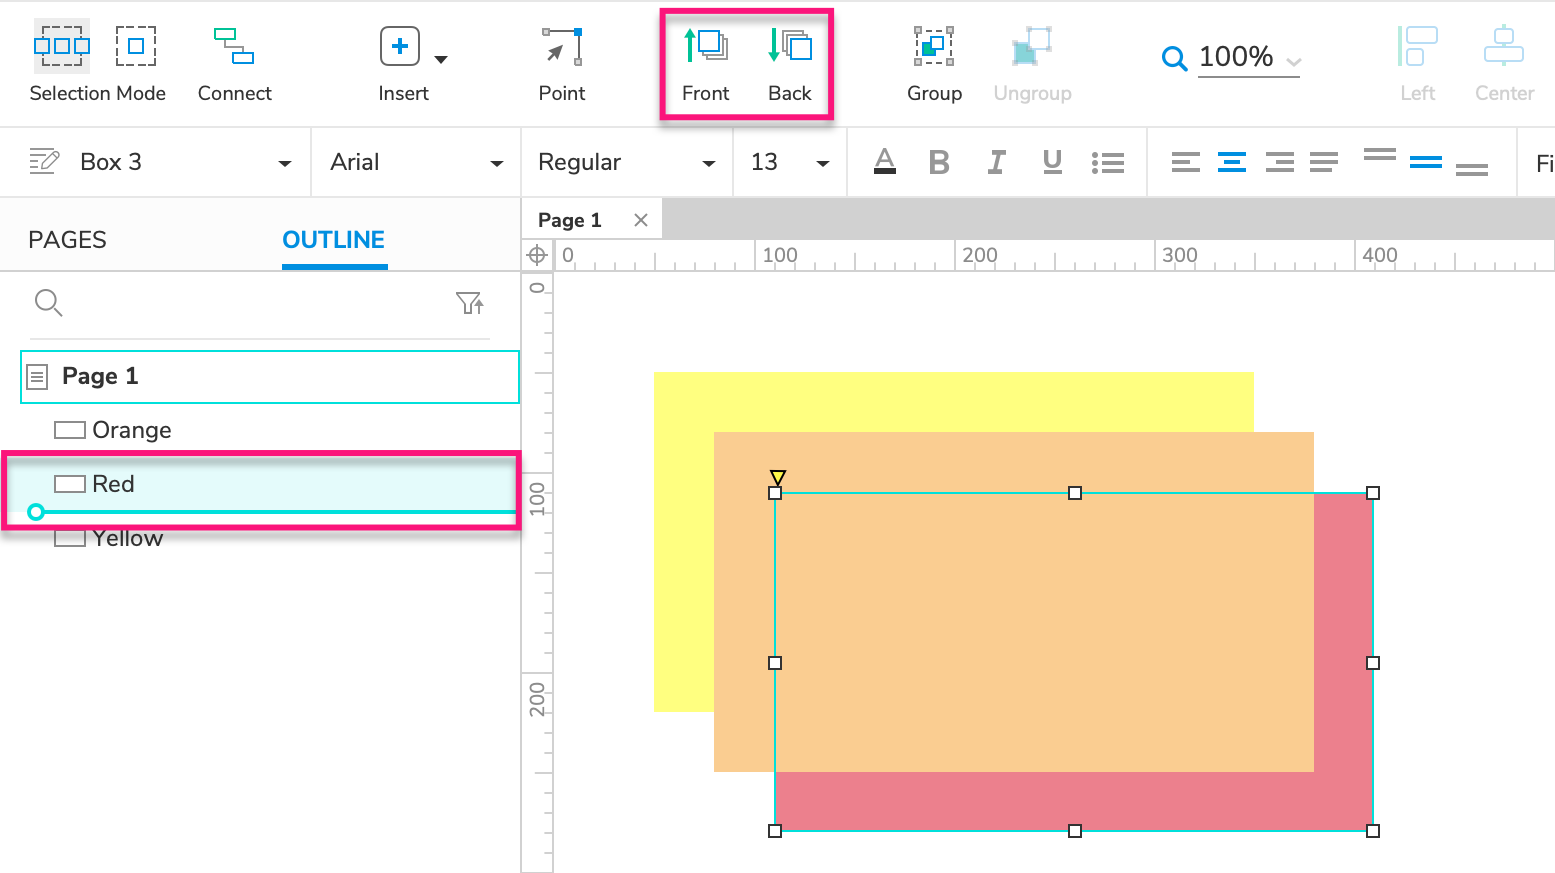
To change a widget's depth / z-index position, drag it up and down in the Outline pane.
There are also buttons for this in the top toolbar. Use the Front button to move a selected widget to the front of the diagram, and use the Back button to send it to the back. You can also customize the top toolbar to include Forward and Backward buttons that move the selected widget forward and back one step at a time.
Collapsing and Expanding Widgets
To collapse or expand widgets groups (or widgets with a nested structure such as dynamic panels and repeaters) in the Outline pane, toggle the arrow next to the widget or group name.
You can also click the Sort and Filter icon at the top-right of the Outline pane, and select Collapse/Expand All to collapse or expand all groups at the same time.
Aligning and Distributing Widgets
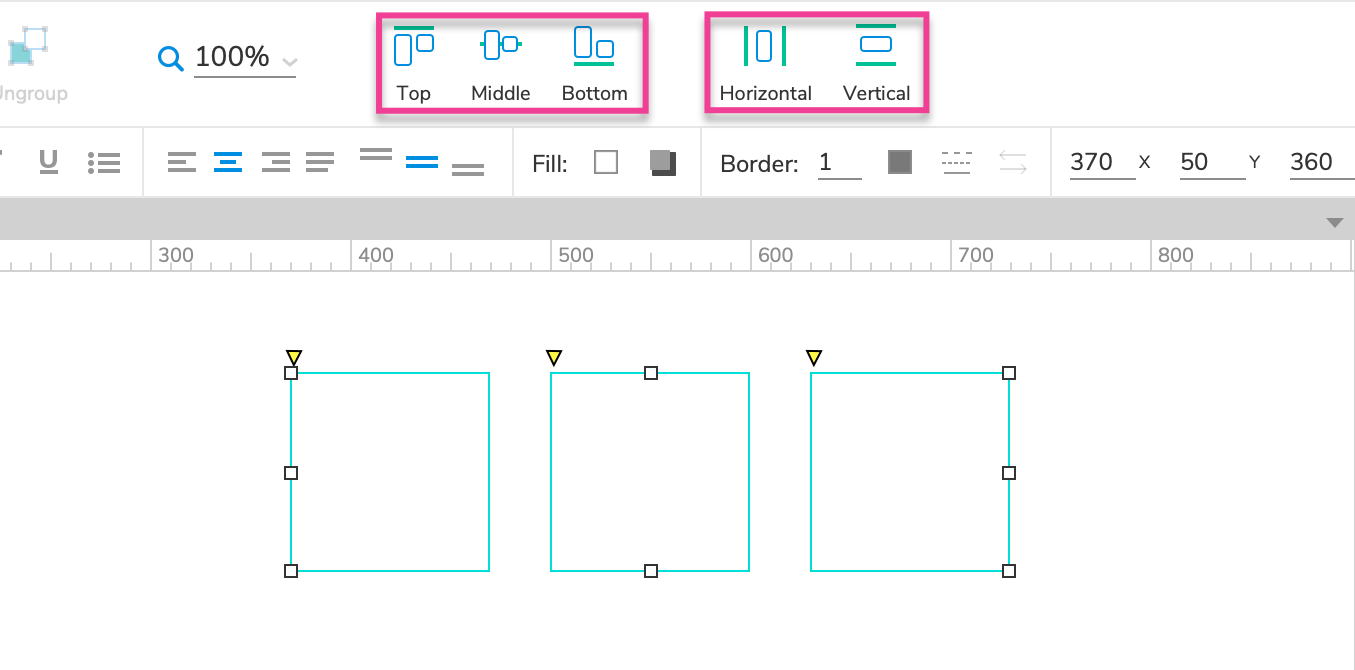
The Align and Distribute tools in the top toolbar can be used to automatically organize a selection of widgets around one another.
The align tools can align two or more selected widgets horizontally at the left, center, or right, or vertically at the top, middle, or bottom. The new position is based on the location of the first widget selected. You must select at least two widgets before you can align them.
The distribute tools can evenly distribute the locations of three or more selected widgets either horizontally or vertically. You must select at least three widgets before you can distribute them.
Note
If desired, you can customize the top toolbar to consolidate these options under two icons, Align and Distribute.
Locking Widgets to the Canvas
When you lock a widget, you cannot change its size and position by dragging it on the canvas; instead, you must use the fields in the top toolbar or the Style pane. This helps to prevent the locked widget from being moved or resized on accident.
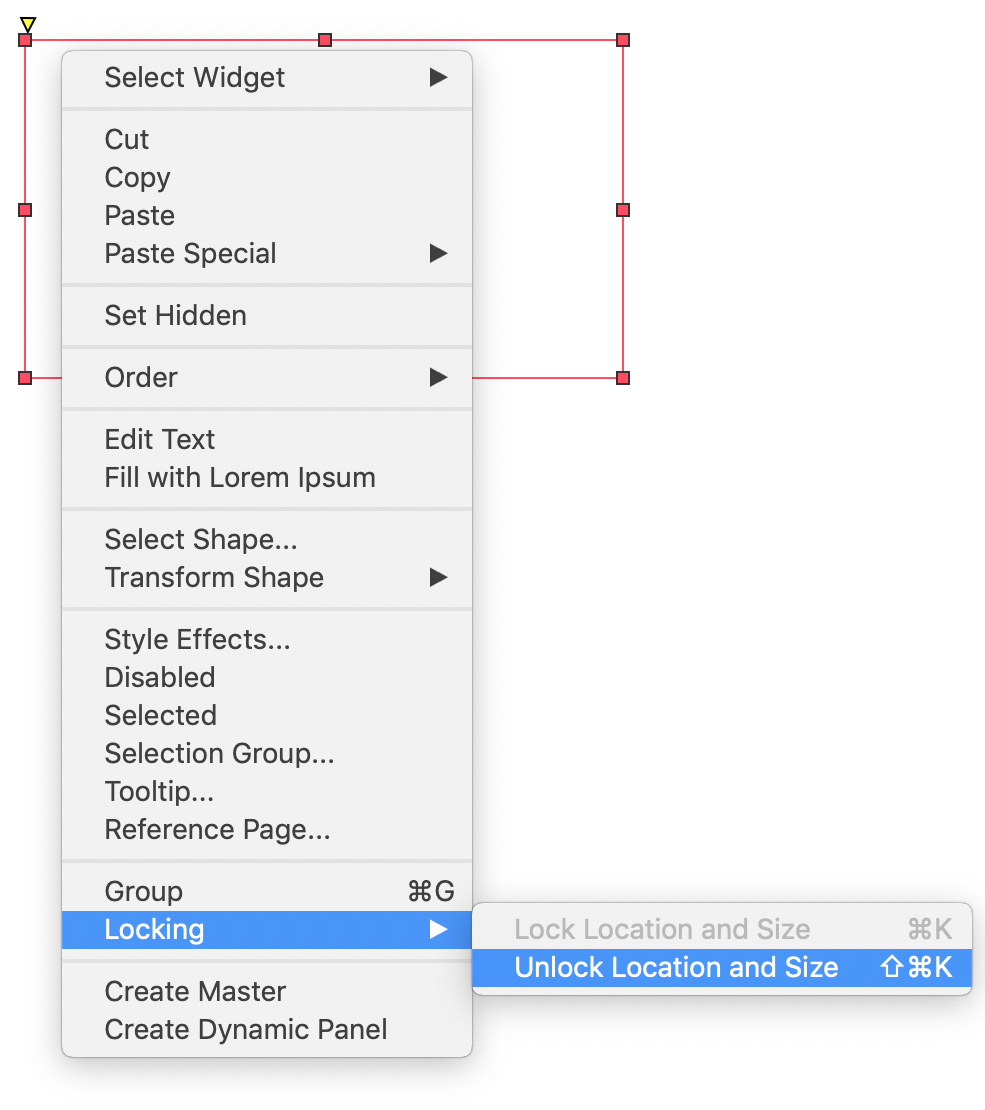
To lock or unlock a widget, right-click it and select the appropriate option under Locking in the context menu. If desired, you can also customize the top toolbar to include Lock and Unlock icons.
Tip
Locked widgets have a red border when selected on the canvas. If you're unable to drag or resize a particular widget, check its border color to see if it's locked.
Hiding Widgets
You can hide widgets on the canvas so that they won't be visible in the web browser. You can then use the Show action to dynamically display the widget. (Check out the Hiding and Showing Widgets tutorial to learn more.)
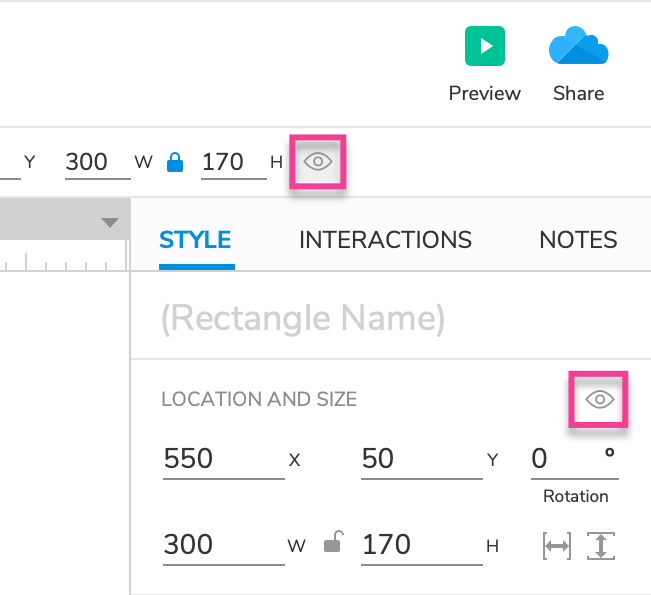
To hide a widget, select it and click the Hidden icon in either the top toolbar or the Style pane.
Hidden widgets appear masked in yellow on the canvas. You can toggle the mask in the top menu at View → Masks.
