
Auto Tab Fields Tutorial
In this tutorial, you'll learn how to make a group of text fields that automatically advance the cursor when the current field has been completed. The example we'll use is a birthdate form.
Note
Click here to download the completed RP file for this tutorial.
1. Widget Setup
Open a new RP file and open Page 1 on the canvas.
Drag three text fields onto the canvas. Name one
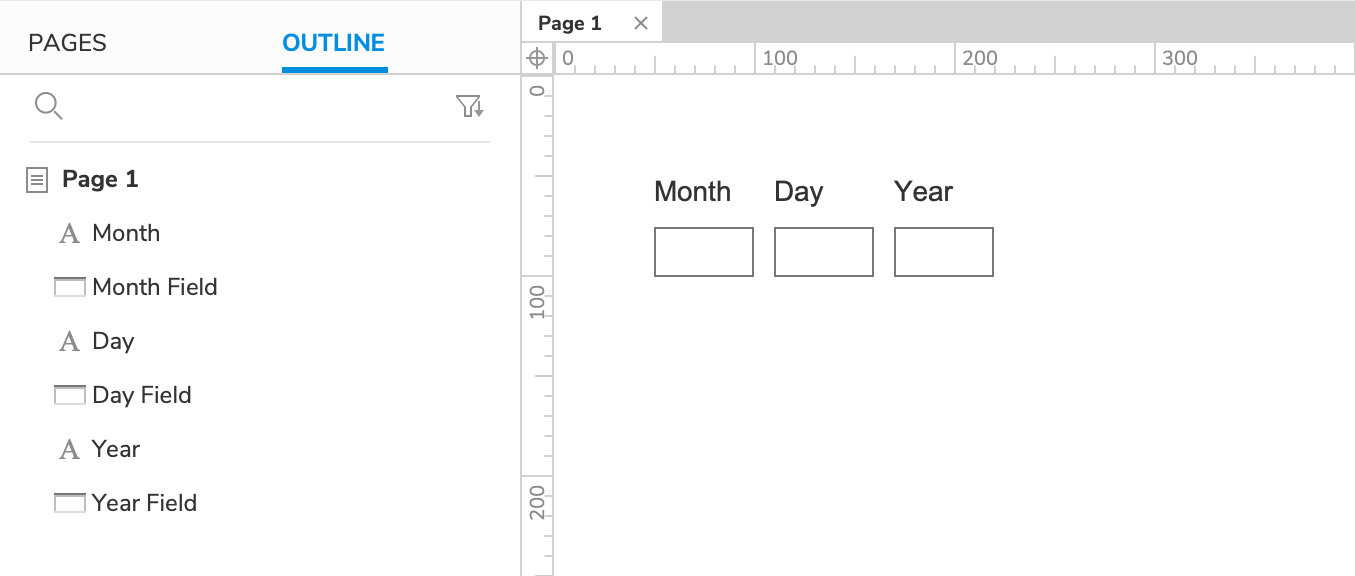
Day Field, oneMonth Field, and oneYear Field. (You can optionally label each with a label widget.)Make the text fields a bit narrower and then line them up in this order:
[Month Field] [Day Field] [Year Field]Note
Feel free to order your text fields differently to match your regional date format. Just remember that you'll also need to create a different cursor flow in the following steps.
2. Automatically Advancing from the Month to the Day Field
Set Focus on the Day Field
Select the Month Field and click New Interaction in the Interactions pane.
Select the Text Changed event in the list that appears, and then select the Focus action.
Select the Day Field in the Target dropdown. Then, click OK to save the action.

Advance Only After the User Has Entered Two Numbers
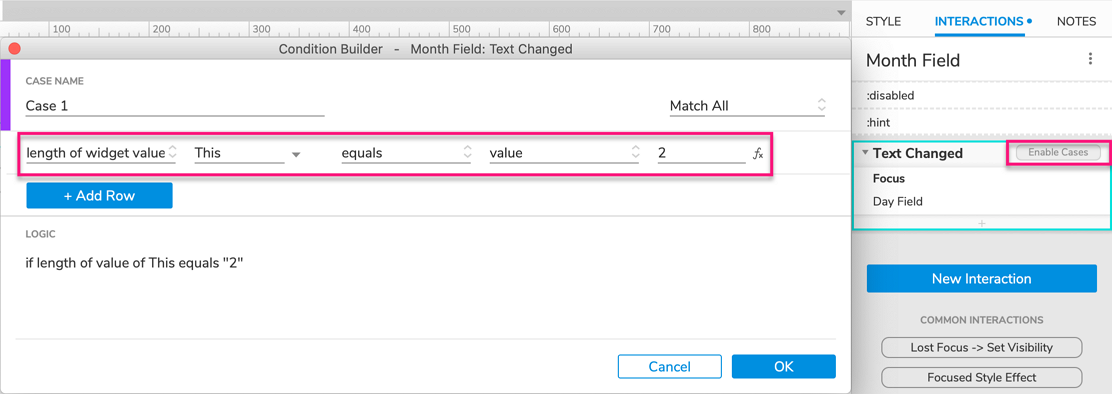
Hover over the Text Changed heading and click Enable Cases to the right. In the Condition Builder dialog that appears, click Add Logic.
In the condition row that appears, select length of widget value in the first dropdown and enter
2in the field to the right.The summary at the bottom of the dialog should read:
if length of value of This equals "2". This condition will be met when the text field's text reaches two characters in length.Click OK to close the Condition Builder.
3. Automatically Advancing from the Day Field to the Year Field
Repeat Step 2 with the Day Field text field. Give it the same Text Changed interaction as the Month Field, but target the Year Field in the Focus action instead.
4. Preview the Interaction
Preview the page and click on the Month Field.
Enter your birth month in two-digit format —
01for January,02for February, and so on — and the cursor should automatically advance to the Day Field.Enter your two-digit birth date, and the cursor should automatically advance to the Year Field.